Porting to a new board Sunton Esp32 480x272

What do you want to achieve?

I have a Sunton ESP32-S4827s043 TFT display, which as the name suggests a built in esp32 and a 480x272 screen. After much trial and error I got the manufacturer supplied LvglWidgets demo to compile and work correctly (copying files to the correct folders and using the supplied rather than the most up to date library files were key). I have installed Squareline Studio and produced a very simple project with two screen and a few buttons and then exported the project and UI files. However, as there is no board set up for the display I have, I just get a scrambled screen. I would appreciate any guidance that can be given re setting up a new board within Squareline Studio.

What have you tried so far? I tried copying one of the existing ESP32 s3 boards and changing the resolution, but I got an error message saying that the .zip file was missing even thought there wasn’t one for the board I copied (ESP-S3-EYE). I then took the UI files and built them into the LvglWidgets program that I knew worked and my project ran successfully, but I would much rather be able to run the project without changing code.

Screenshot or video

Others

  • SquareLine Studio version: V1.2.1
  • Operating system: Windows using Arduino IDE (V2.0.3)
  • **Target hardware:**Sunton Esp32-4827s043

Do you use ArduinoIDE for compiling and uploading your code?

Yes indeed, just updated to V2…0.3. I am South Wales based also

OK, I have had similar issues attempting to get my ESP32S3 board up and running. Have managed in the main but still some issues. However, it would appear you may be experiencing the same issues I have been seeing. You may be swapping the image bytes… have you selected 16 bit or 16 bit swap in the bit depth field I project properties. If you have selected 16 bit swap you may want to try just 16 bit.
Let me know how you get on, happy to zoom/chat on messenger etc if necessary as we’re both wanting to learn lol.

Once you have working project you can export only the UI files too. So to have your board supported in SLS is only nice to have but not mandatory.

See this video: Export into an Existing Project | Basics Tutorial #7 | SquareLine Studio - YouTube

1 Like

Using the Arduino IDE with the Sutton boards, ESP32S3, Arduino GFX and LVGL takes a little getting used to, not helped by the documentation which is out of date.

I really need to create a board for 7" display, but not today.

From the start - you need the latest ESP32S3 board in Arduino - https://raw.githubusercontent.com/espressif/arduino-esp32/gh-pages/package_esp32_index.json

Then you can get the latest version of Arduino GFX - but the code for the sutton boards is incorrect in the demos (unless you use the old version) - see Dev Device Declaration · moononournation/Arduino_GFX Wiki · GitHub

Use the .INO you got the demo working from, then just export the UI. Remember the IDE only complies files in the project directory or a special dir that has to be called /src

All fun from there on in.

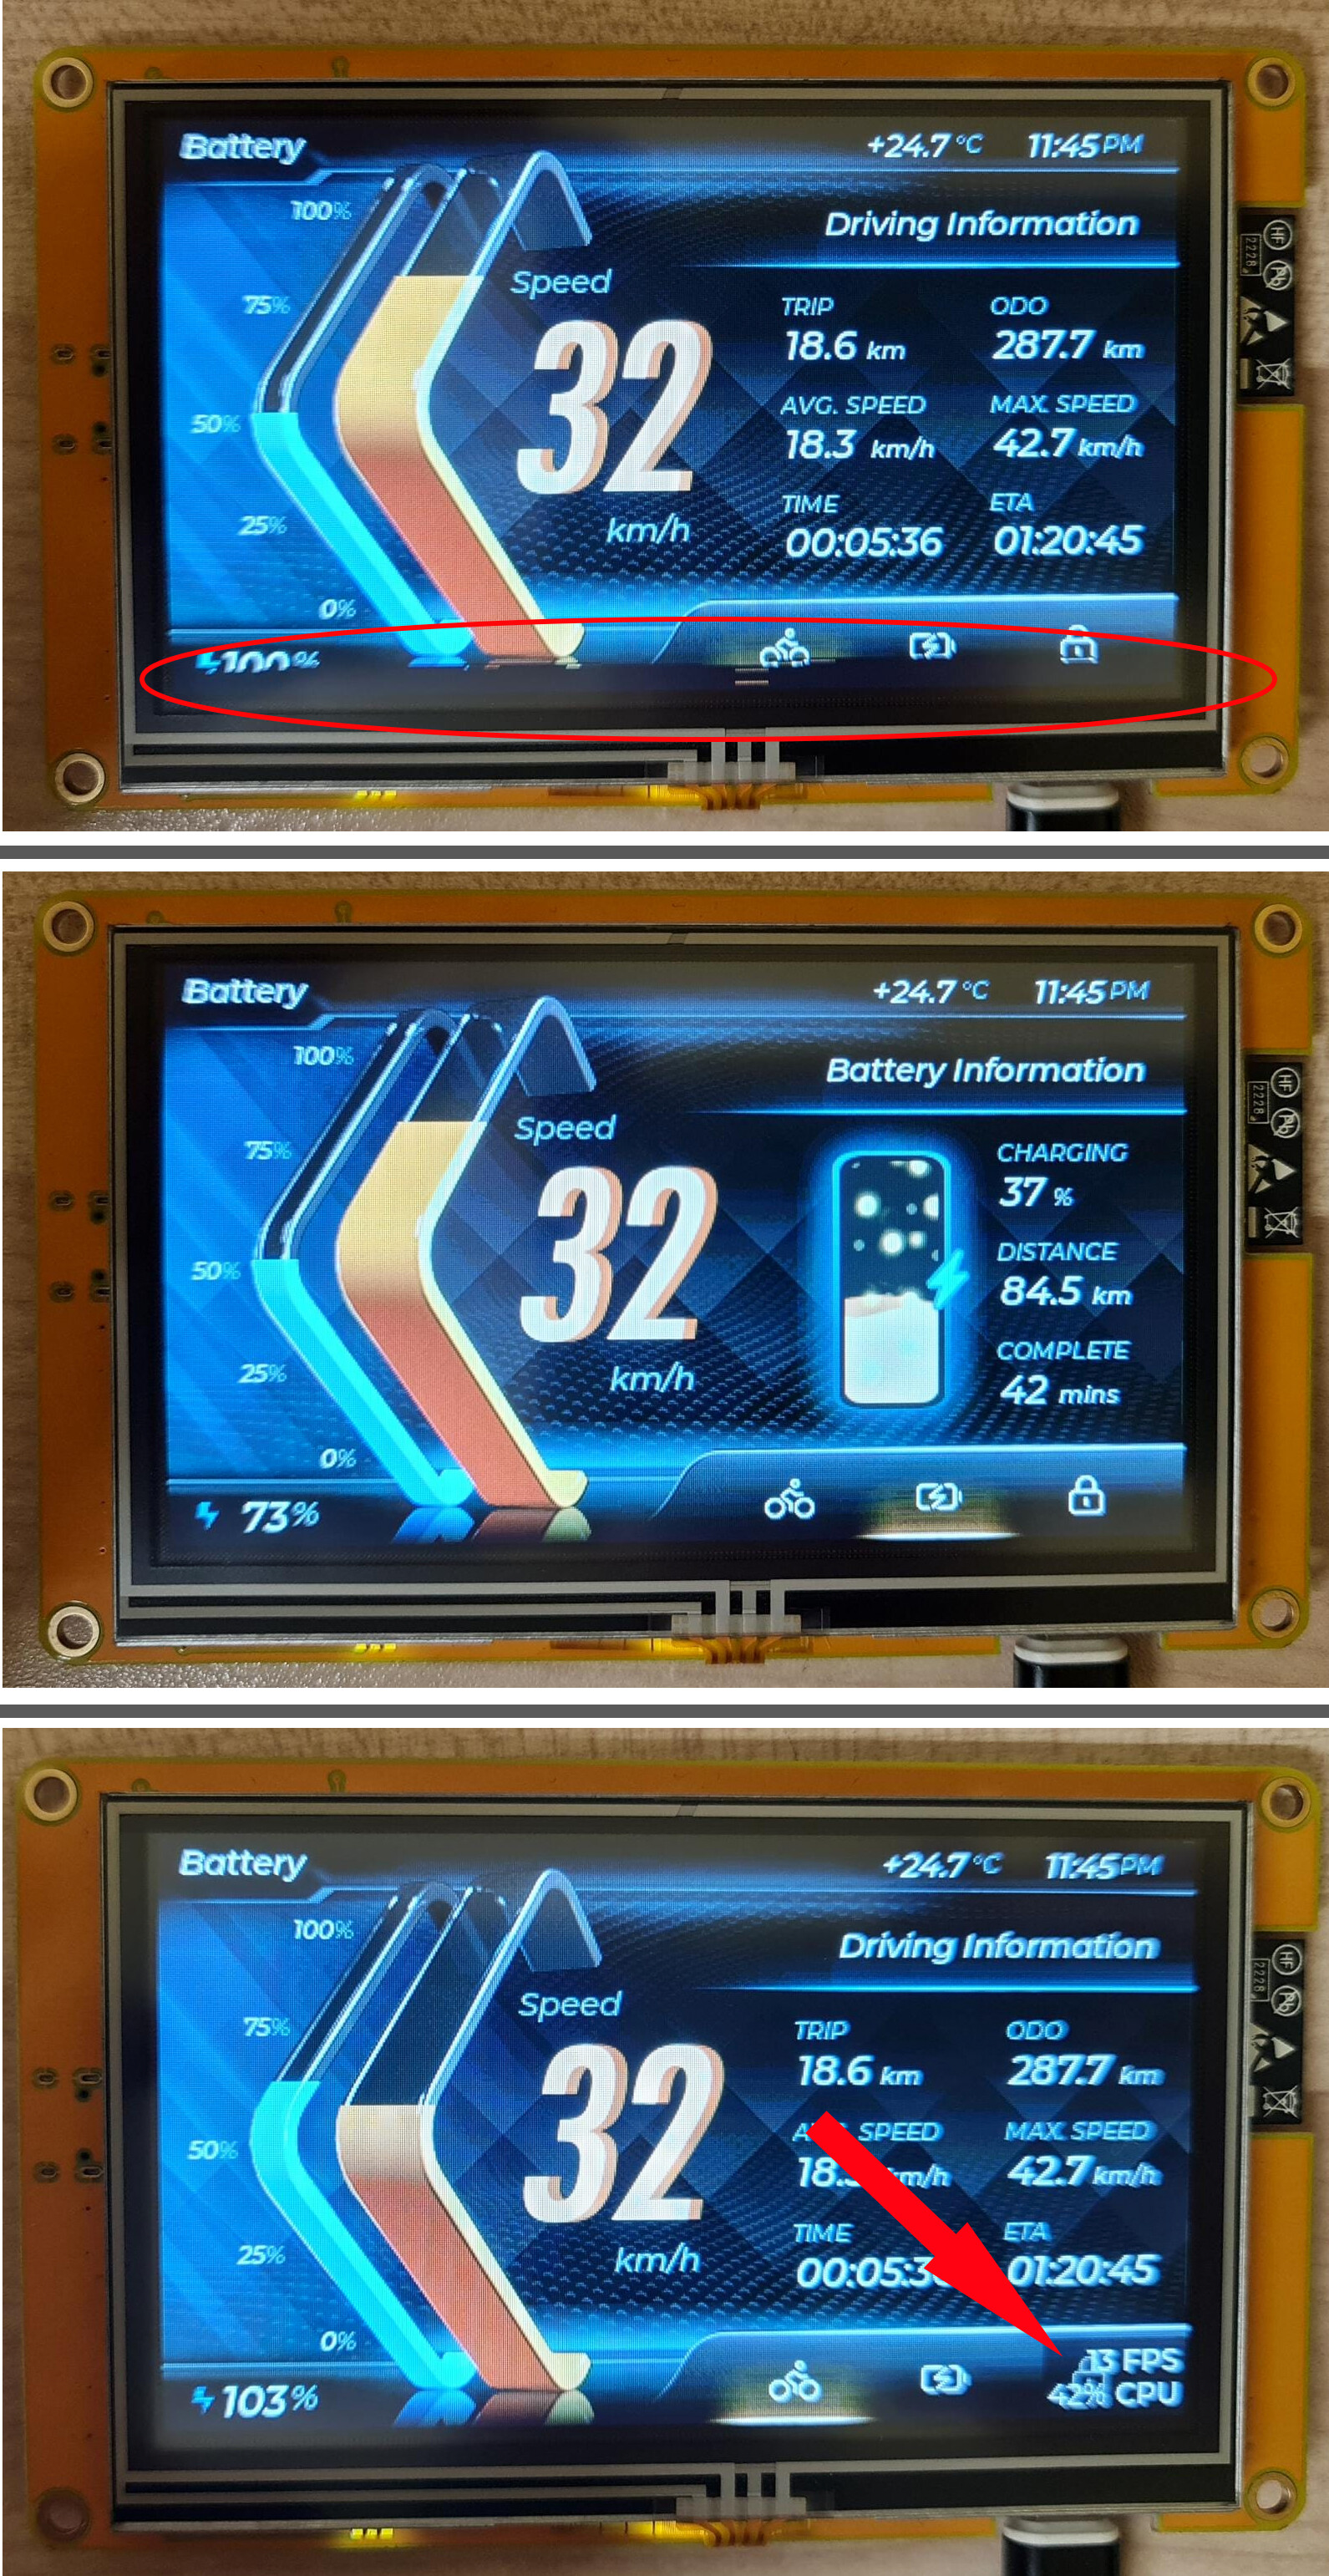
these are my working settings with LovyanGFX and Arduino_GFX_Library:

###LovyanGFX###

#include <lgfx/v1/platforms/esp32s3/Panel_RGB.hpp>
#include <lgfx/v1/platforms/esp32s3/Bus_RGB.hpp>
#include <lvgl.h>

class LGFX : public lgfx::LGFX_Device{
lgfx::Bus_RGB _bus_instance;
lgfx::Panel_RGB _panel_instance;
lgfx::Light_PWM _light_instance;
lgfx::Touch_XPT2046 _touch_instance;

public:LGFX(void){
auto cfg = _bus_instance.config();
cfg.panel = &_panel_instance;
cfg.pin_d0 = GPIO_NUM_8; // B0
cfg.pin_d1 = GPIO_NUM_3; // B1
cfg.pin_d2 = GPIO_NUM_46; // B2
cfg.pin_d3 = GPIO_NUM_9; // B3
cfg.pin_d4 = GPIO_NUM_1; // B4
cfg.pin_d5 = GPIO_NUM_5; // G0
cfg.pin_d6 = GPIO_NUM_6; // G1
cfg.pin_d7 = GPIO_NUM_7; // G2
cfg.pin_d8 = GPIO_NUM_15; // G3
cfg.pin_d9 = GPIO_NUM_16; // G4
cfg.pin_d10 = GPIO_NUM_4; // G5
cfg.pin_d11 = GPIO_NUM_45; // R0
cfg.pin_d12 = GPIO_NUM_48; // R1
cfg.pin_d13 = GPIO_NUM_47; // R2
cfg.pin_d14 = GPIO_NUM_21; // R3
cfg.pin_d15 = GPIO_NUM_14; // R4
cfg.pin_henable = GPIO_NUM_40;
cfg.pin_vsync = GPIO_NUM_41;
cfg.pin_hsync = GPIO_NUM_39;
cfg.pin_pclk = GPIO_NUM_42;
cfg.freq_write = 12000000; //16000000
cfg.hsync_polarity = 0; //0
cfg.hsync_front_porch = 8; //8
cfg.hsync_pulse_width = 4; //4
cfg.hsync_back_porch = 43; //43
cfg.vsync_polarity = 0; //0
cfg.vsync_front_porch = 8; //8
cfg.vsync_pulse_width = 4; //4
cfg.vsync_back_porch = 12; //12
cfg.pclk_idle_high = 1; //1
_bus_instance.config(cfg);
_panel_instance.setBus(&_bus_instance);

{ auto cfg = _panel_instance.config();
cfg.memory_width = 480;
cfg.memory_height = 272;
cfg.panel_width = 480;
cfg.panel_height = 272;
cfg.offset_x = 0;
cfg.offset_y = 0;
_panel_instance.config(cfg);
}

{ auto cfg = _panel_instance.config_detail();
cfg.use_psram = 1;
_panel_instance.config_detail(cfg);
}

{ auto cfg = _light_instance.config();
cfg.pin_bl = GPIO_NUM_2;
_light_instance.config(cfg);
}
_panel_instance.light(&_light_instance);

{
auto cfg = _touch_instance.config();
cfg.x_min = 100;
cfg.x_max = 4000;
cfg.y_min = 100;
cfg.y_max = 4000;
cfg.pin_int = -1;
cfg.bus_shared = true;
cfg.offset_rotation = 0;// 0-7
cfg.spi_host = 1; //
cfg.freq = 1000000;
cfg.pin_sclk = 12;
cfg.pin_mosi = 11;
cfg.pin_miso = 13;
cfg.pin_cs = 38;
_touch_instance.config(cfg);
_panel_instance.setTouch(&_touch_instance);
}
setPanel(&_panel_instance);
}
};
static LGFX tft;

void setup(){
tft.begin();
tft.setRotation(0);
tft.setBrightness(255);
}

###Arduino_GFX_Library###

#define GFX_BL DF_GFX_BL
#define TFT_BL 2

Arduino_ESP32RGBPanel bus = new Arduino_ESP32RGBPanel(
GFX_NOT_DEFINED /
CS /, GFX_NOT_DEFINED / SCK /, GFX_NOT_DEFINED / SDA /,
40 /
DE /, 41 / VSYNC /, 39 / HSYNC /, 42 / PCLK /,
45 /
R0 /, 48 / R1 /, 47 / R2 /, 21 / R3 /, 14 / R4 /,
5 /
G0 /, 6 / G1 /, 7 / G2 /, 15 / G3 /, 16 / G4 /, 4 / G5 /,
8 /
B0 /, 3 / B1 /, 46 / B2 /, 9 / B3 /, 1 / B4 */
);
Arduino_RPi_DPI_RGBPanel gfx = new Arduino_RPi_DPI_RGBPanel(
bus,
480 /
width /, 0 / hsync_polarity /, 8 / hsync_front_porch /, 4 / hsync_pulse_width /, 42 / 43 hsync_back_porch /,
272 /
height /, 0 / vsync_polarity */, 8 /*8 vsync_front_porch /, 4 / vsync_pulse_width /, 12 / 12 vsync_back_porch /,
1 /
pclk_active_neg /, 12000000 / prefer_speed /, true / auto_flush */);

void setup(){
gfx->begin();
gfx->fillScreen(BLACK);
pinMode(TFT_BL, OUTPUT);
digitalWrite(TFT_BL, HIGH);
}

Note - this does not work in the later versions of Arduino_GFX - use this instead

Arduino_ESP32RGBPanel rgbpanel = new Arduino_ESP32RGBPanel(
41 /
DE /, 40 / VSYNC /, 39 / HSYNC /, 42 / PCLK /,
14 /
R0 /, 21 / R1 /, 47 / R2 /, 48 / R3 /, 45 / R4 /,
9 /
G0 /, 46 / G1 /, 3 / G2 /, 8 / G3 /, 16 / G4 /, 1 / G5 /,
15 /
B0 /, 7 / B1 /, 6 / B2 /, 5 / B3 /, 4 / B4 /,
0 /
hsync_polarity /, 210 / hsync_front_porch /, 30 / hsync_pulse_width /, 16 / hsync_back_porch /,
0 /
vsync_polarity /, 22 / vsync_front_porch /, 13 / vsync_pulse_width /, 10 / vsync_back_porch /,
1 /
pclk_active_neg /, 16000000 / prefer_speed */);

Arduino_RGB_Display gfx = new Arduino_RGB_Display(
800 /
width /, 480 / height */, rgbpanel);

I tried this setup with parameters for my display, but with the Arduino_GFX library the display flickers!

What version of Arduino_GFX are you using? v1.3.2 is the latest, I think the panel changed in v1.3.0 onwards. The older libs worked with your settings above.

I have version 1.3.2, it works but it flickers a bit.
With LovyanGFX it looks very good but not everything is drawn when I start the program.

Refering to the flickering I’m about to write on how I resolved this for my case over at: ESP32 Display SUNTON flickering - #14 by werde45

Good evening, I need your help. I bought a Sunton 7" 8048S070 LCD board, with all the examples found on the net, none of them work, I’m using Arduino IDE, and as device I write ESP32 S3 Device module. All the compilations tried fail. Can anyone give me a tip for this one? Sunton card with a simple but working graphic example.

Sunton has some worked out examples and SquareLine board-files here at the forum, but I guess you’ve already iterated through them.

Maybe there are better working examples at ESP site or github pages for ESP-IDF toolchain, at least the ESP-IDF route for an ESP board is worth a try if the Arduino-IDE way fails.